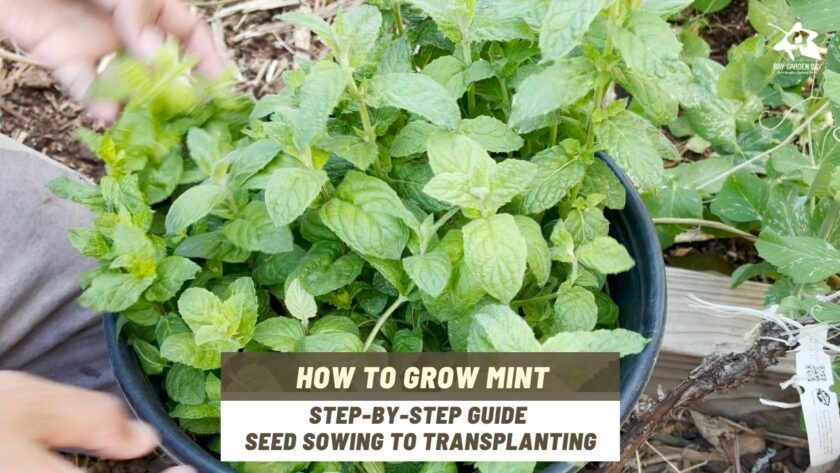
Mint is a wonderful herb to grow in the garden or in containers. It is aromatic and flavorful, but it’s also very easy to care for. The only challenge is keeping it from taking over your garden. This is because mint tends to spread rapidly if not contained; it’s why it is best to grow mint in a pot.
Tips on planting mint
- Sow mint seeds indoors 8-10 weeks before the last frost in your area.
- Sow seeds 1/4 inch deep and covers mint seeds lightly with starting mix.
- Keep the starting mix moist with an ideal temperature of 70 degrees Fahrenheit.
- Mint seeds germinate in 7-14 days.
Tools and materials you’ll need
- Mint seeds
- Plants seed starting pots, starting cells, or seed flats
- Plastic bags or tray covers
- Seed-starting mix
- Plant label
- A Sharpie permanent marker
Mint can be propagated from cuttings, but it’s also easy to start from seeds. This step-by-step guide will show you how to grow mint from seeds and then transplant the young mint seedling into a larger container.
Total Time: 50 minutes
Prepare seed starting mix for mint
The ideal seed-starting mix for sowing mint is a soilless medium that is finer and lighter. This helps germinate mint seeds and makes it easier for tiny mint seedlings to grow. The seed starting mix for mint should also hold onto moisture without being soggy because mint seedlings can rot if they remain too wet.
You can make your own soilless seed-starting for mint mix by mixing 4 parts compost, 2 parts coconut coir, and 1 part vermiculite. Or, make coconut coir from coco coir brick mixture. Another option is to use a quality commercial seed-starting mix formulated for germinating seeds.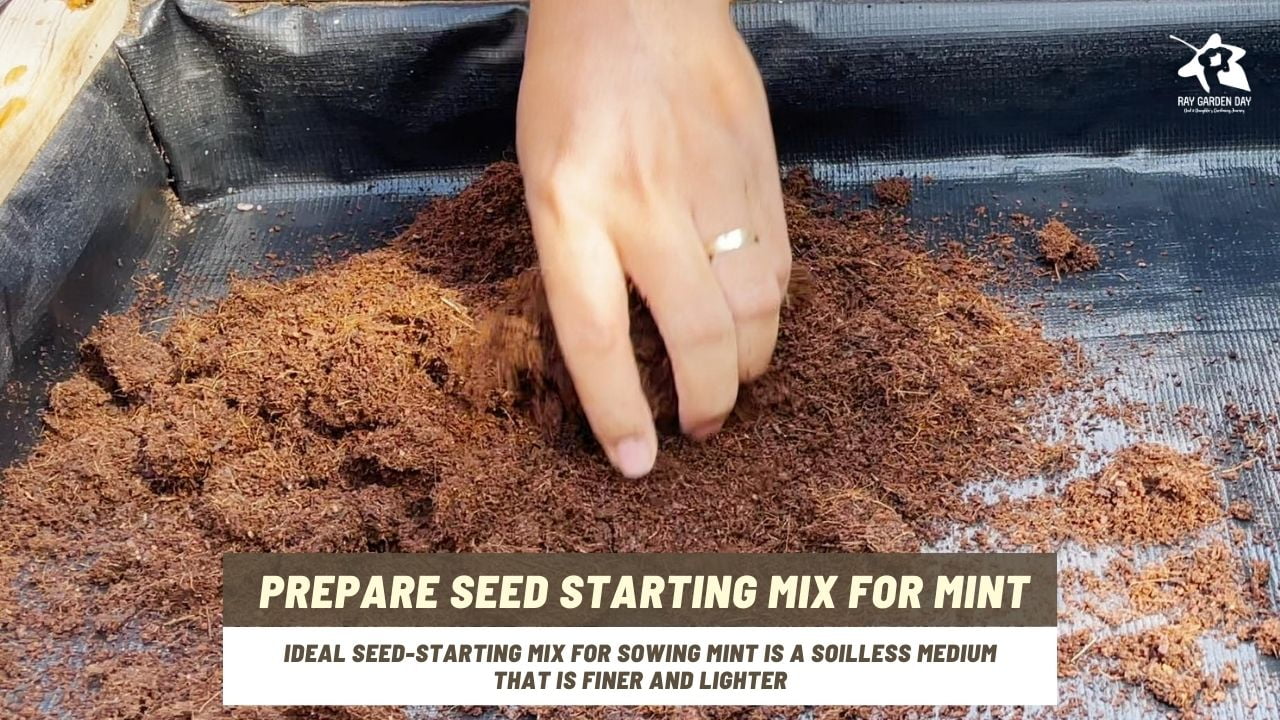
Fill the container for sowing mint seeds with the starting mix
Fill the container with the planting mix almost to the top. The container I’m using is a seed tray with 72 inserts but use whatever you like — recycled plastic yogurt containers or styrofoam drink cups with drainage holes punched in the bottom work well. Gently press with your thumb so that the starting mix settles.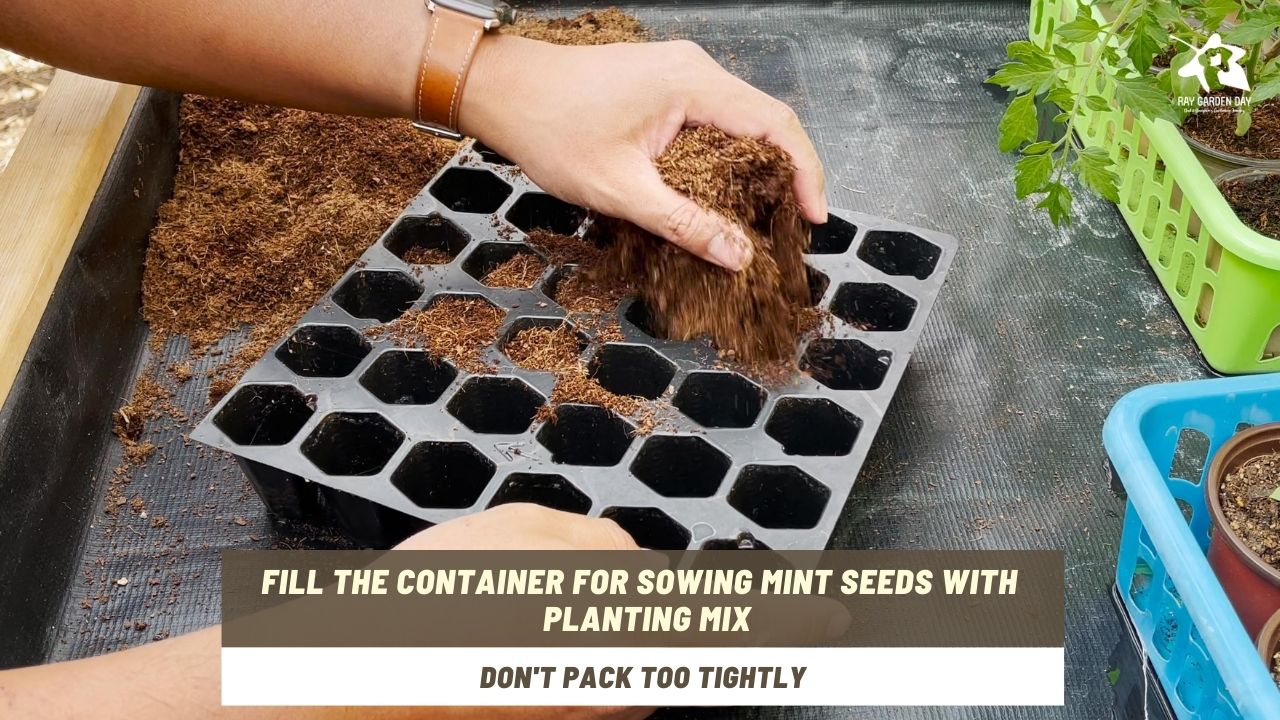
Plant the mint seeds
Mint seeds don’t need pre-chilling or soaking, so once the containers are prepared, you can begin planting the mint seeds. Sow 1-3 mint seeds on top of the starting mix. Using three mint seeds per container increases your chances of successful germination. You can thin out or separate extras later into their own container. Once all the mint seeds have been sown, lightly sprinkle seed starting mix on top of the mint seeds, so they are just covered.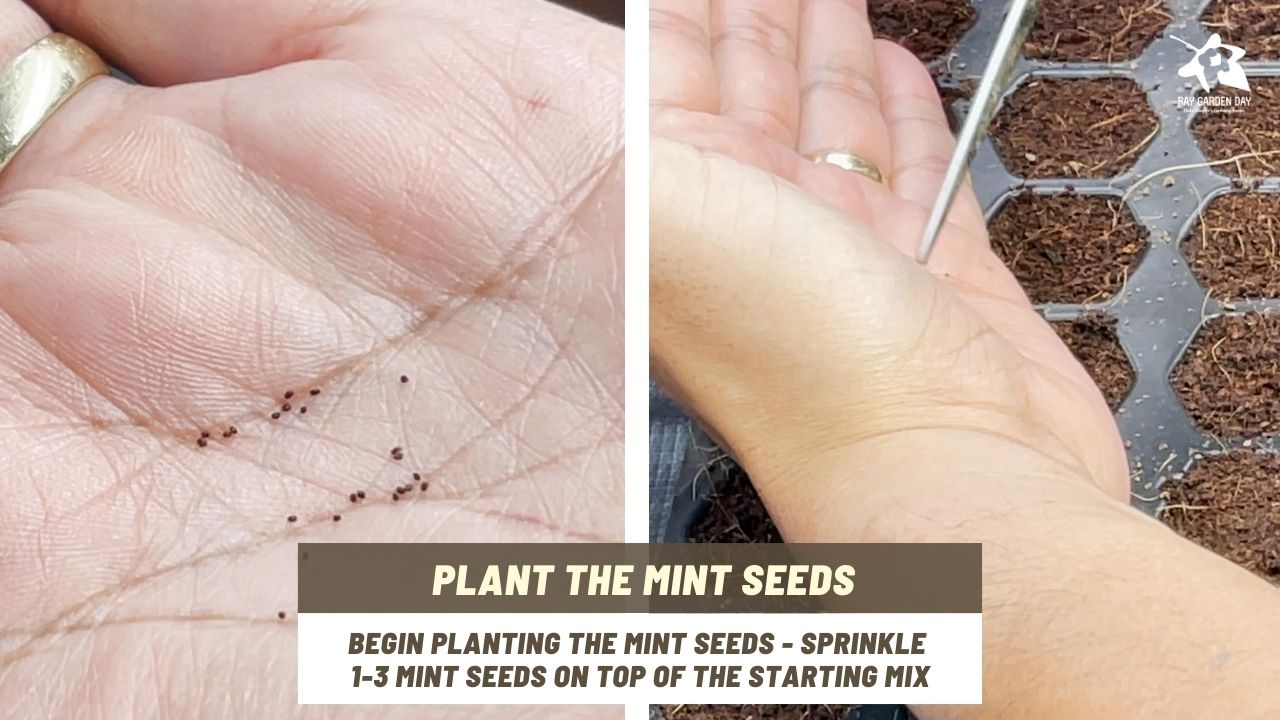
Water sowed mint seeds from the bottom
Now that mint seeds are fully sown, it’s time to water them. Be sure not to drown the seeds, as this can lead to mold and mildew problems. The best way to water newly sowed mint seeds is from the bottom up. Simply set your container(s) in a saucer of water and allow the soil to absorb moisture through the drainage holes.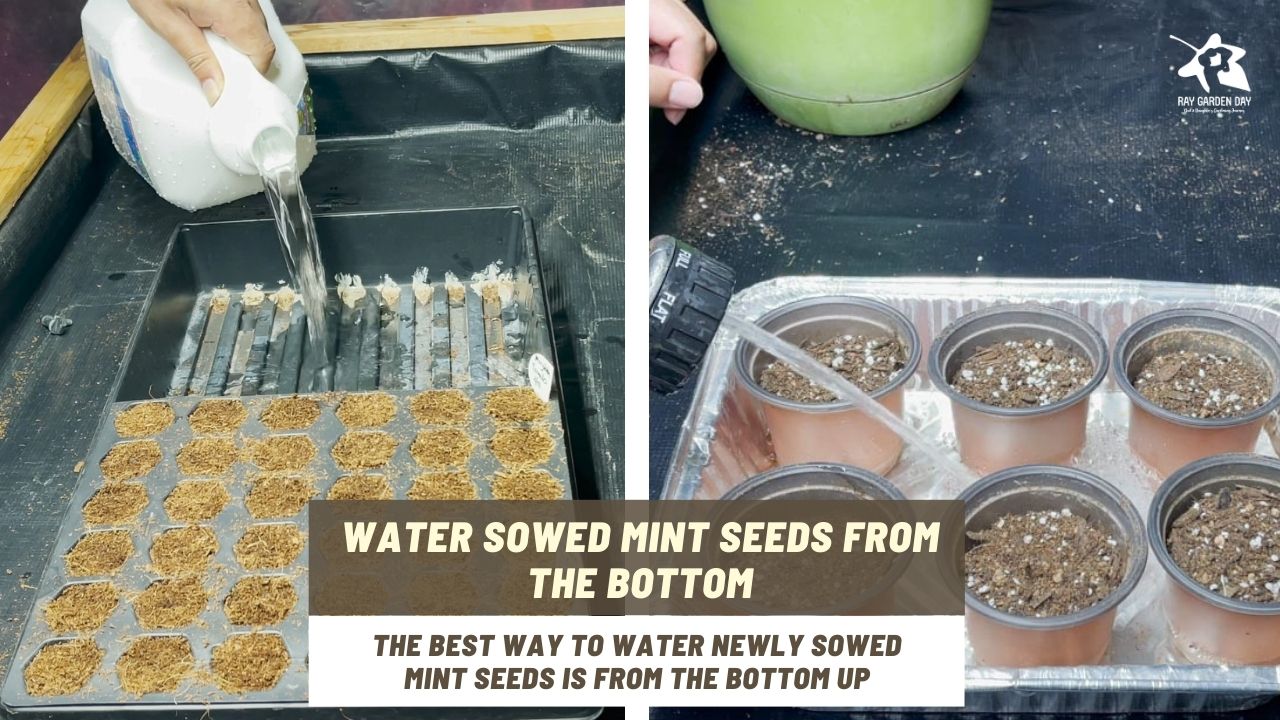
Cover with a humidity dome lid or plastic bag
To help the mint seeds germinate and sprout, use a clear humidity dome lid or plastic bag to cover and retain moisture. The trapped humidity keeps the growing medium mix moist, which encourages germination.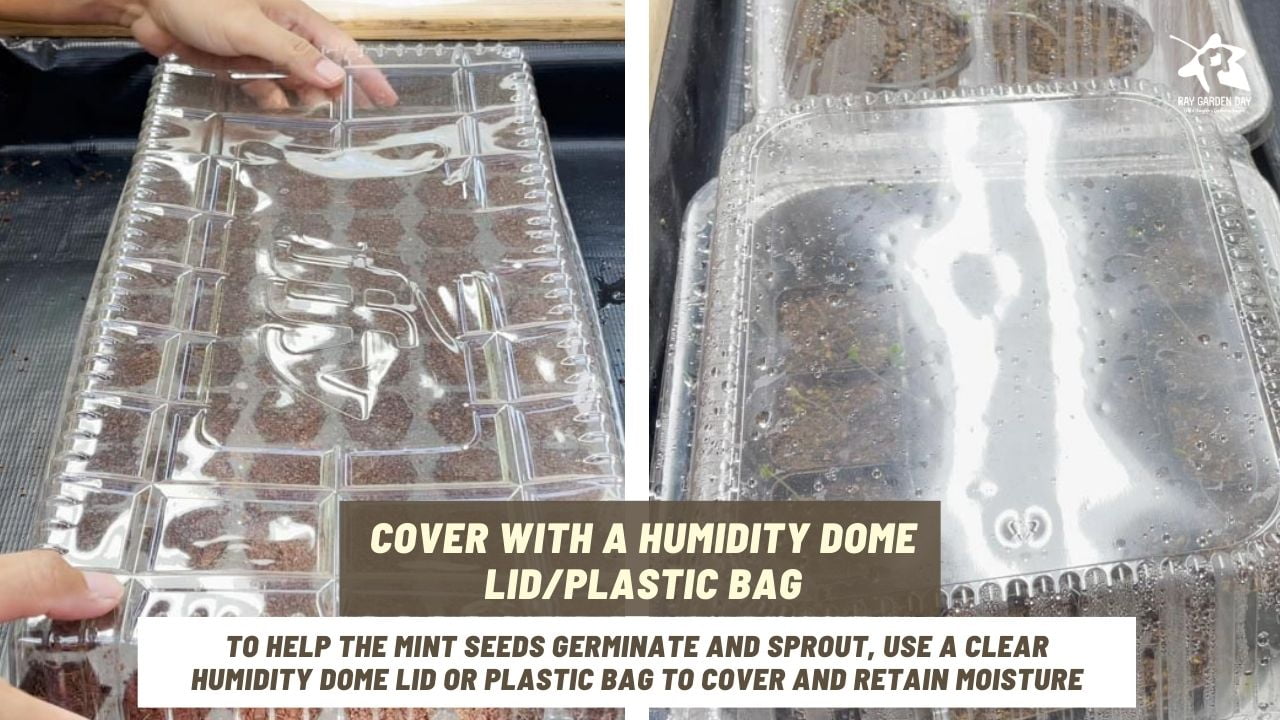
Place the container in a warm location
Place the container(s) in a warm location, out of direct sunlight. Mint seeds germinate the best when the temperature is between 70 and 80 degrees Fahrenheit. If you don’t have a place in your home that naturally stays this warm, you can use a seedling heat mat to help maintain consistent temperatures.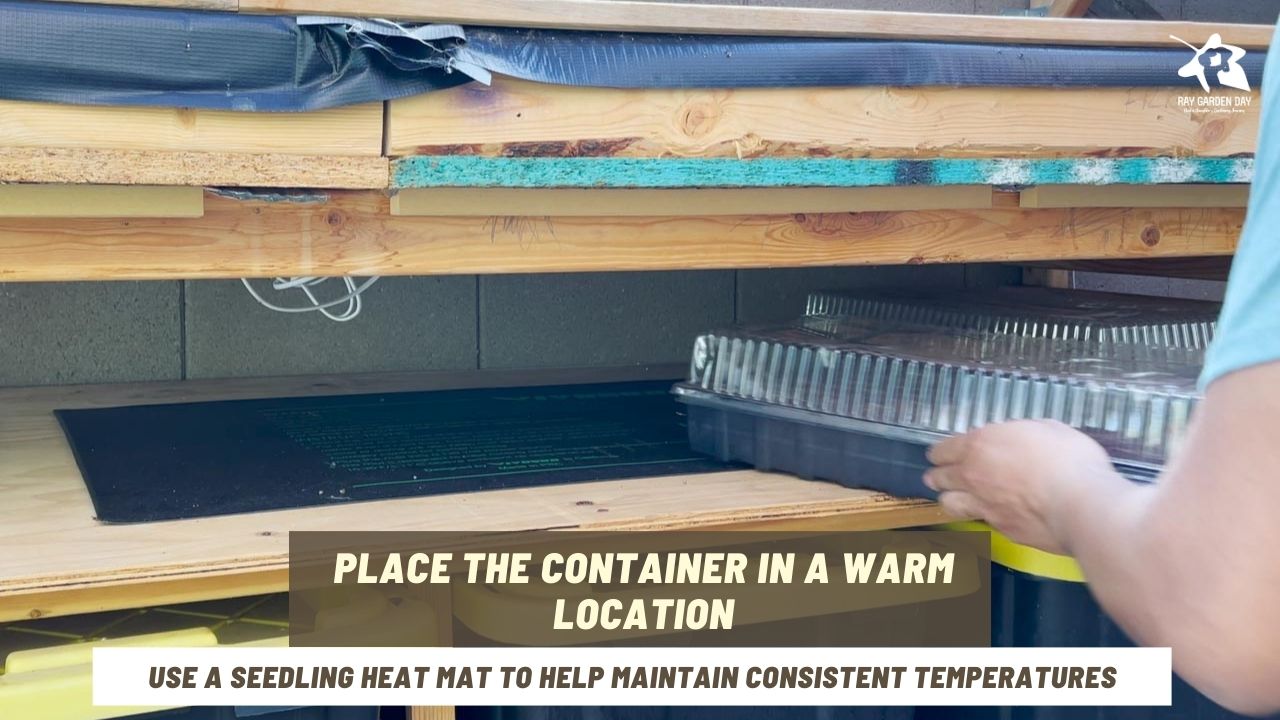
Allow the mint seedlings to grow under fluorescent grow lights
Remove the humidity dome lid or plastic bag once the mint seeds germinate, and tiny seedlings appear. When true leaves have formed, the mint seedlings can begin photosynthesis. Allow the mint seedlings to grow under fluorescent grow lights, keeping the light source just a few inches above the tops of the plants.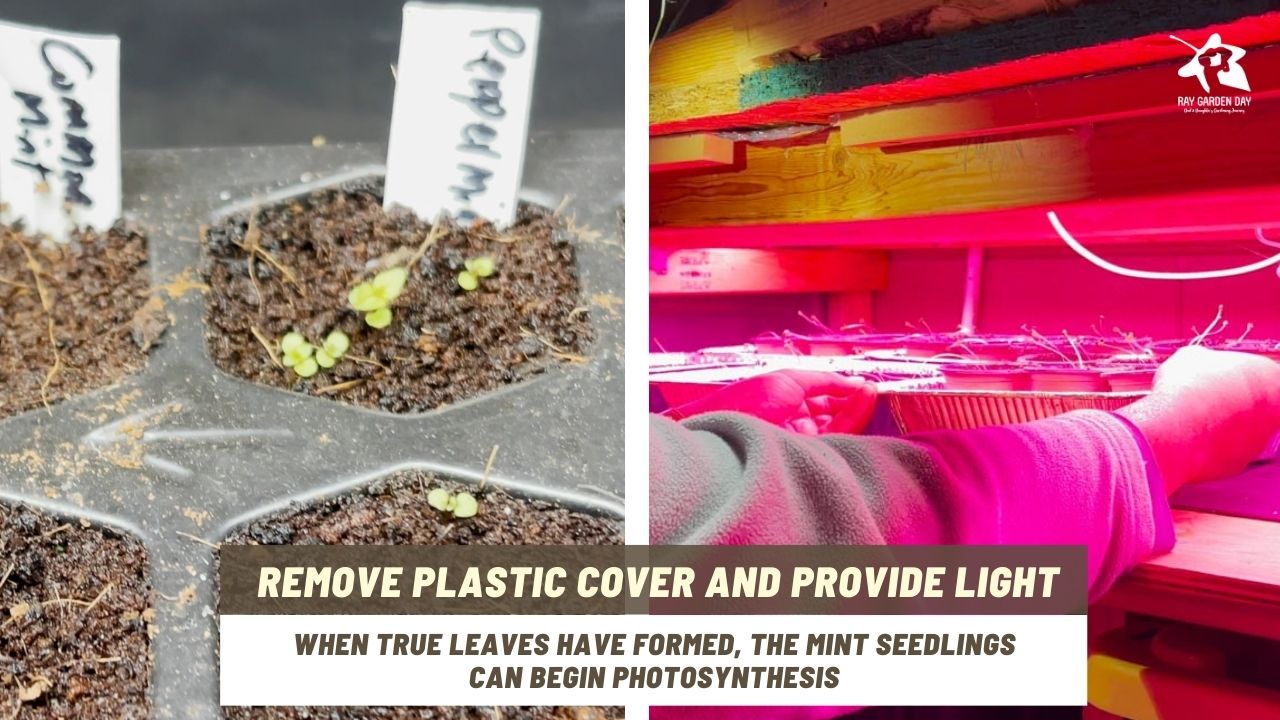
Water the mint seedlings regularly
During the growth stage of mint seedlings, they need both the starting mix to remain moist and offer good air circulation. Water the mint seedlings regularly, making sure to keep the soil moist but not soggy.
Since the mint seedlings are growing in a soilless mix, you will need to give them some supplemental feeding at this point. Use a balanced fertilizer or one high in nitrogen and potassium to encourage good roots and healthy growth. Continue to bottom watering and feeding once a week.
Potting up mint seedlings
Suppose you started the mint seeds in larger containers. In that case, seedlings can remain in their original containers until you are ready to plant them in their permanent spots. However, since I’ve started mine in small cells, it’s time to move the seedlings into a larger pot once several leaves have formed. This is called “potting up,” allowing the roots more room to develop.
Once the seedlings are transplanted, water them well. Keep the mint plants evenly moist but not soggy during the growing season. Overwatering can cause root rot. If you see the leaves turning yellow, this is a sign of overwatering. Brown or black leaves are a sign of underwatering.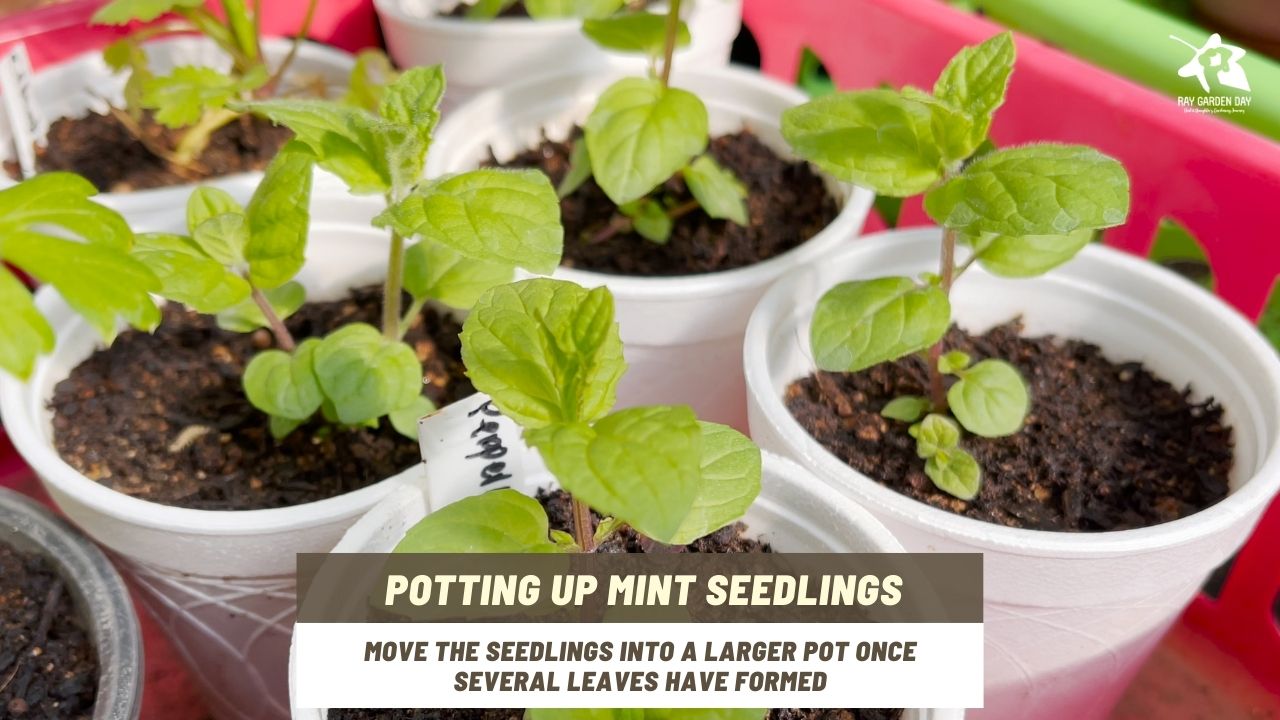
Harden off mint seedlings
You should have stocky, healthy young mint plants when the temperature warms outside. Before moving them out into the garden or permanent location, take a week or two to gradually introduce them to their new growing conditions. This is called hardening off. It gives the young mint plants a chance to acclimate to sunlight, drying winds, and climate changes.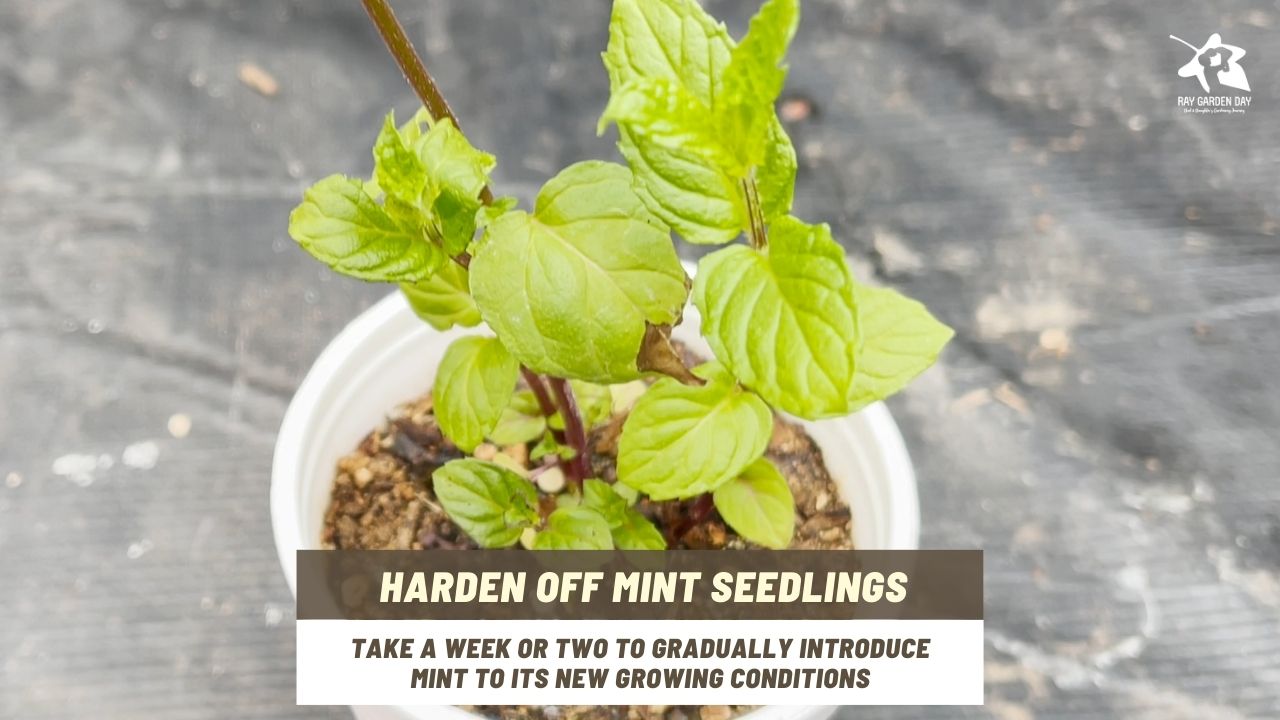
Transplant mint into the garden
Once the mint seedlings are ready to transplant into the garden or into permanent outdoor containers, choose a spot in full sun to partial shade. If you live in an area with hot summers, the mint plants will appreciate some afternoon shade.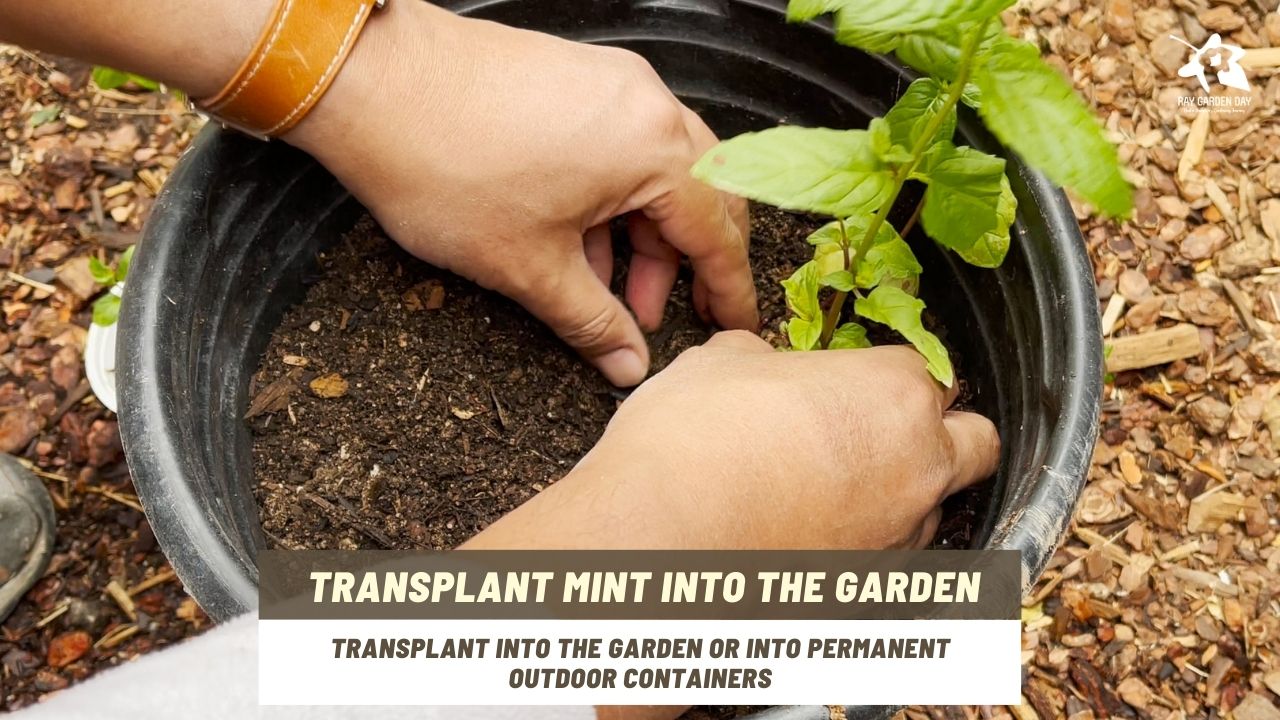
I hope you’ve found this how-to-grow mint guide helpful. Remember, mint is a very versatile herb that can be used in many different ways. Some people like to add a sprig of mint to their iced tea or lemonade, while others use it to flavor desserts and baked goods. Whatever way you decide to use mint, I’m sure you’ll enjoy the results of your hard work!