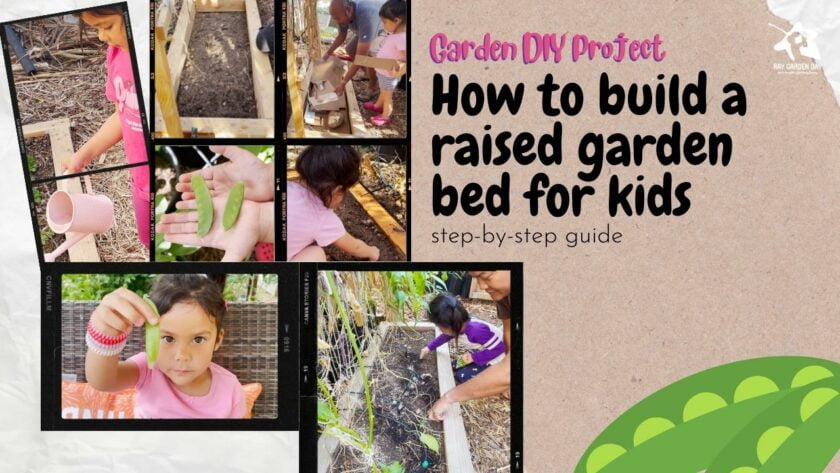
Do you want to teach your kids how to garden? It’s a fun and educational activity that they will love! Plus, it’s a great way to get them outside and active. Gardening is also a great way to teach kids about healthy eating. In this blog post, I will show you how to build a raised garden bed for kids. This is a simple garden DIY project that you can do in just one day!
So what is a raised garden bed? A raised garden bed is a gardening practice in which the soil is raised above ground level in an enclosed structure made from any material and of any size. Raised garden beds help overcome native soil conditions, thus promoting healthier growth and providing a longer growing season.
Building a raised bed for kids is similar to a regular raised bed, so you can still follow along if that’s what you’re doing.
Building a raised garden bed is easy and only requires a few materials and tools. You will need:
- Lumber (we’re using one piece of 4 in. x 6 in. x 12 ft. cull Douglas fur, but use whatever is available to you and easy to source, cedar is a good choice for rot-resistant)
- Compost
- Tape measure
- Saw
- Spirit level
- Drill
- Deck screws
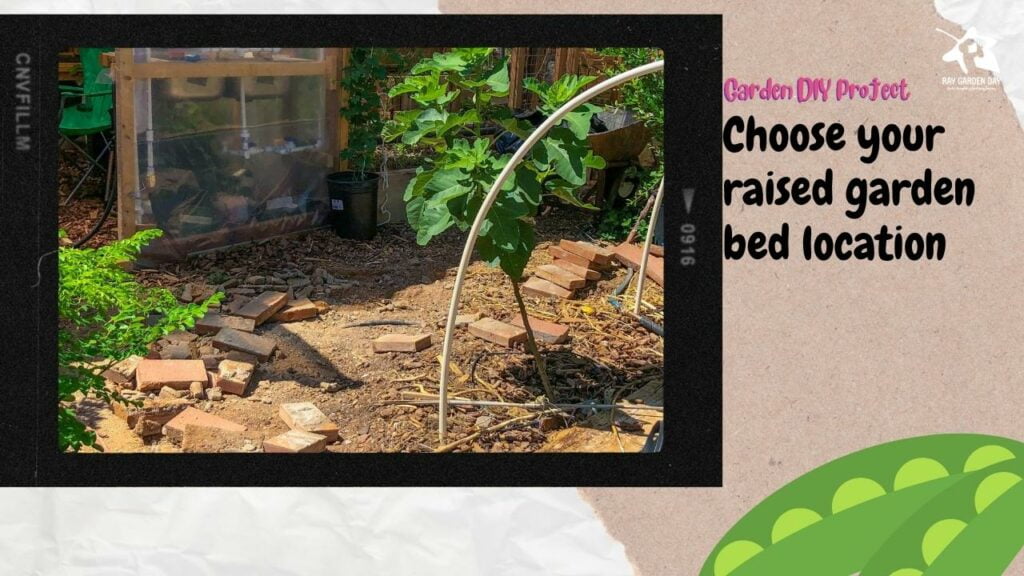
Step 1. Choose your raised garden bed location
Find a suitable location for your raised bed. Keep in mind that plants will need at least six hours of sunlight a day to thrive. You also want to keep it close to a water source or irrigation. Because my daughter and I spend a lot of time in our greenhouse, I chose a spot for our raised bed just outside it. Her to be built raised bed will also be a few steps away from her playground, thus keeping gardening fun and making her feel it’s hers and therefore, she has to take care of it.
Step 2. Prepare your location and measure
Clear an area and ensure it’s flat, which helps the raised garden bed frame sit in a level position. Next, take measurements of the available space to determine the size of the raised bed you need to build.
After taking measurements, I will be building a simple 4 ft. length x 2 ft. wide and 6 inches deep raised bed. The size of your raised bed will vary depending on your needs and available space. I’ve intentionally kept the width to 2 feet to make it easier for my 3-year-old daughter to reach the center of the raised bed.

Step 3. Cut wooden boards to length
Next, cut the lumber board to length. Skip this step if you’re starting from a premade raised bed kit.
Measure and mark the length of the raised bed sidewalls and cut the boards. Next, to support the sidewalls, cut four corner posts. The length of the corner post should be the same as the height of the raised bed. For example, if your raised bed is 1 foot tall, the corner posts should be 1 foot long.
For our raised bed frame, the thickness of our board means that we don’t need the corner posts. As a result, our bed frame is ready to assemble by making just three cuts from our 12 ft. long lumber; two cuts for the 4 feet long sidewalls and a final cut on the remaining lumber to get the two end walls. Please keep it simple and keep it fun!

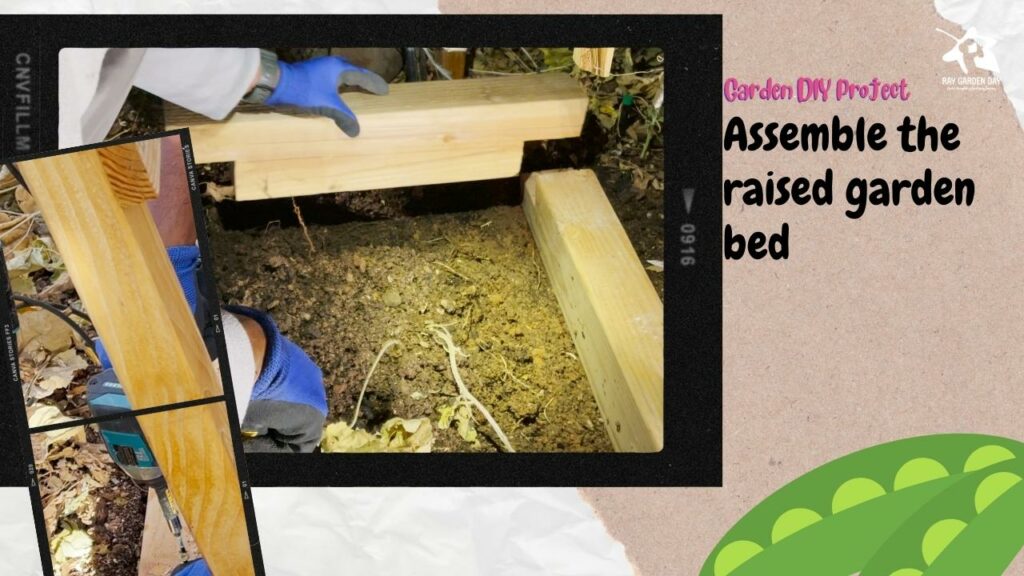
Step 4. Assemble the raised garden bed
Start by attaching the two end walls to corner posts. First, place the corner posts flush to the end walls and screw them together. Next, place the end walls flush with the outer edge of the sidewalls and use deck screws to attach them at the corner posts rather than the edge grain for additional strength.
For our raised bed, we use half-lap joints to attach the sidewalls and end walls together.
The final step is to level out your raised garden bed frame using a spirit level.
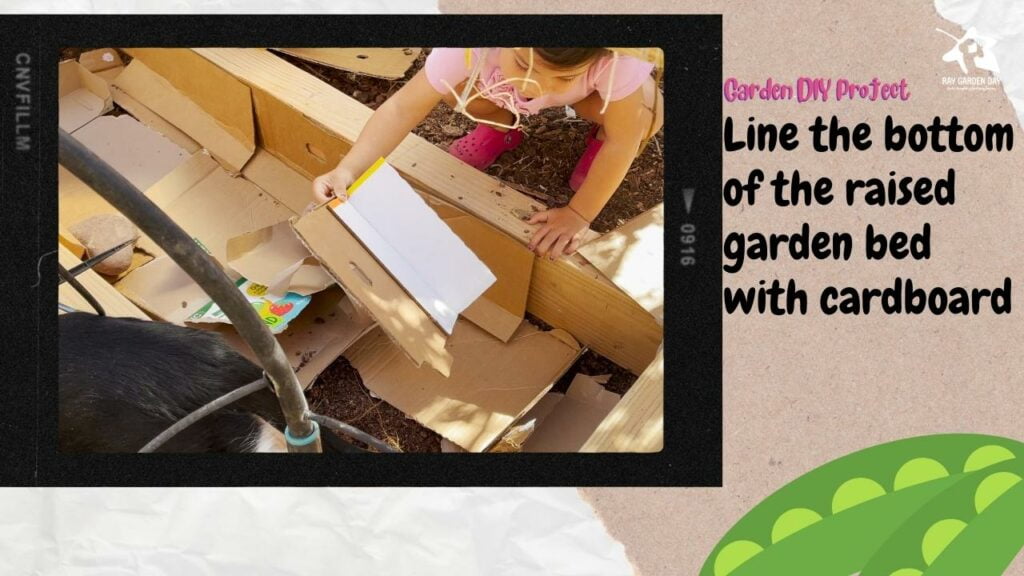
Step 5. Line the bottom of the raised garden bed with cardboard
The next step is to line the bottom of the raised garden bed with cardboard or landscape liner fabric to help prevent weeds, grass, and roots from nearby trees from getting into the raised bed. Well, just long enough for whatever you intend to grow in the raised bed established.
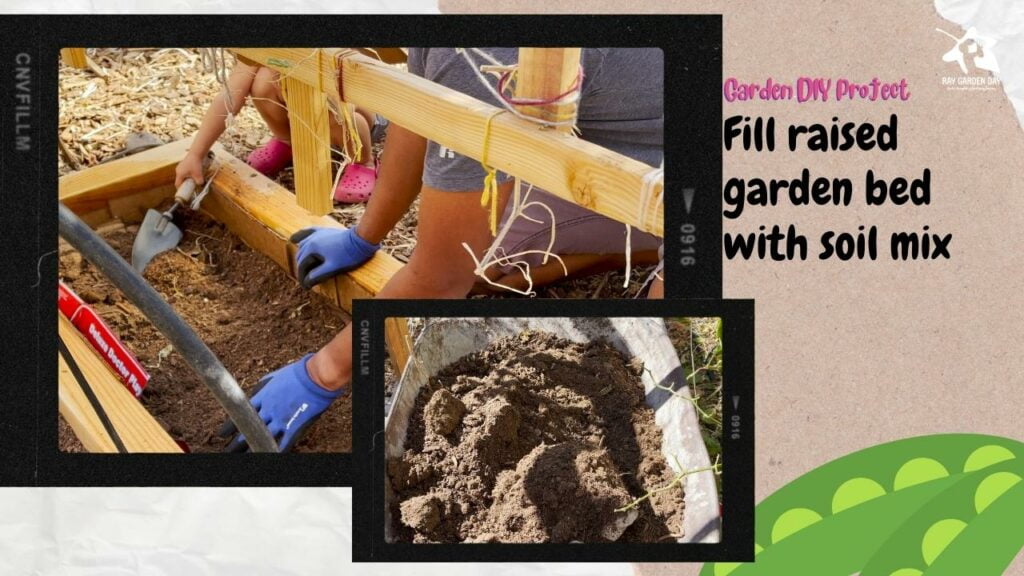
Step 6. Fill raised garden bed with soil mix
Now it’s time to fill your raised garden bed with nutrient-rich soil. The soil and soil amendments mix should be optimal for your particular area and the plants you intend to grow. As a general rule, a good basic mix is made of 50 percent topsoil and 50 percent compost. From there, you can refine the mix ratio based on your needs.
If, like us, your house sits on an infertile and sterile piece of dirt or clay, quite a common theme for homes in subdivisions, then the growing medium mix for your raised bed may need to be 80 percent compost and 20 percent soil to help improve drainage and aeration.
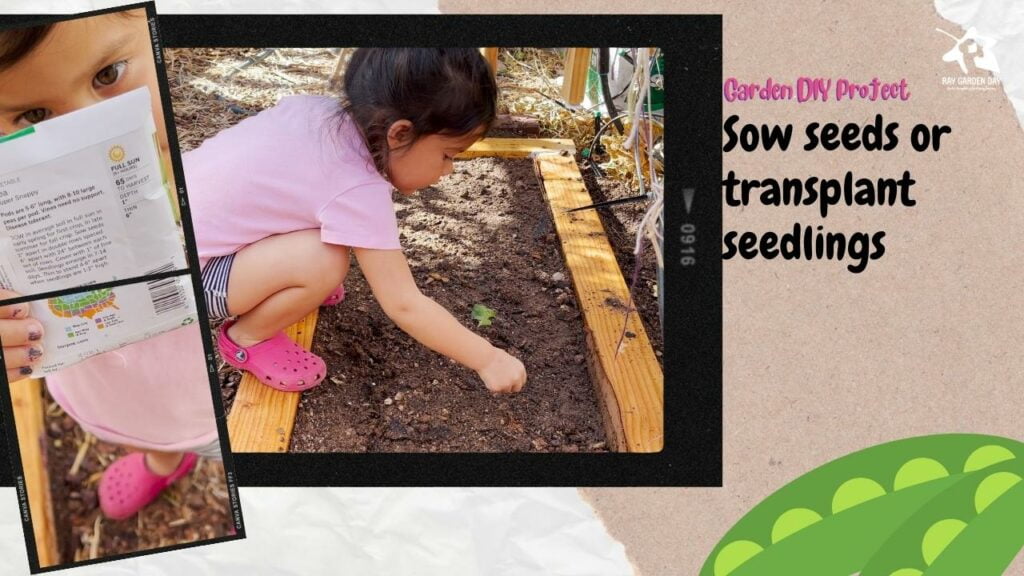
Step 7. Sow seeds or transplant seedlings
Now that your raised garden bed is full of nutrient-rich soil, it’s time to sow seeds or transplant seedlings.
When starting plants from seed, be sure to plant them at the depth and spacing recommended on the seed packet. Similarly, ensure enough spacing between transplanted seedlings to allow them to grow and not compete for sunlight.
What to grow?
The possibilities are endless. The great thing about raised garden beds is that you can grow just about anything.
If you’re dedicating a raised garden bed for your kids, grow something they will enjoy. For example, peas, cherry tomatoes, strawberries, and leafy greens are relatively low-maintenance plants that don’t take up a lot of space. They also don’t mind being planted close together. On the other hand, carrots are fun for kids to harvest but require more space and time to grow.
My top vegetable to grow with your kids in their raised beds is peas, like snap pea and snow pea. My daughter grows them every season without fail. They’re easy to grow, are attractive, and don’t take up too much space, making them ideal for smaller raised beds. In addition, your kids can pick them every day, which enables the plant to produce more.
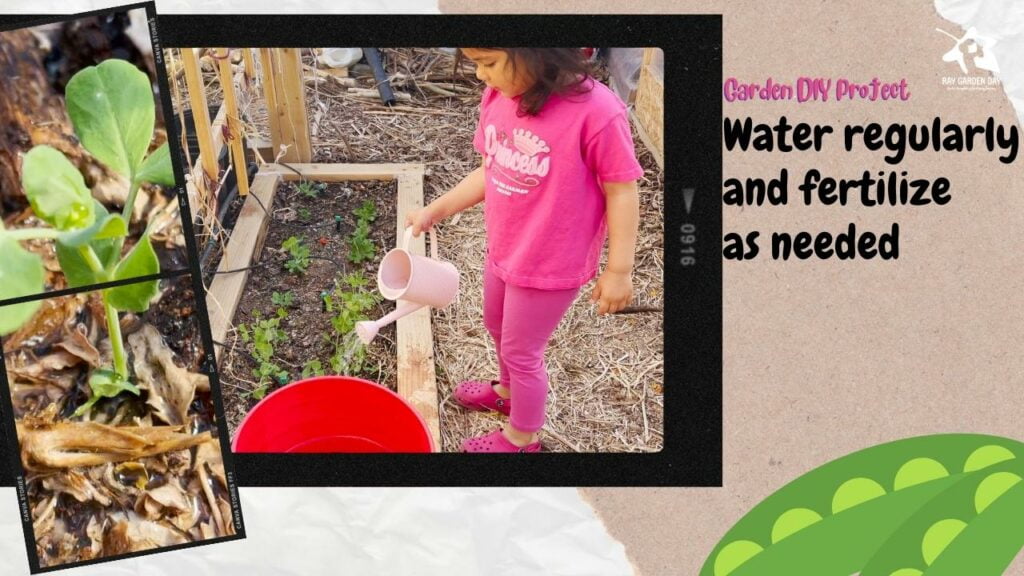
Step 8. Water regularly and fertilize as needed
Finally, don’t forget to water your plants regularly and fertilize them as needed. Depending on the type of plants you’re growing, how often you need to water and fertilize will vary. Be sure to check the requirements for each plant to ensure they’re getting the care they need.
There you have it! You can build a raised garden bed that your kids will love with these simple steps. Gardening is a great way to teach children about where food comes from and how plants grow. Plus, it’s a fun activity that the whole family can enjoy together.
There you have it! You can build a raised garden bed that your kids will love with these simple steps. Gardening is a great way to teach children about where food comes from and how plants grow. Plus, it’s a fun activity that the whole family can enjoy together.


I guess I need compost. So far, the only thing that grows is potatoes. They seem to be able to survive without water for a long time. I’m a very lazy gardener. I want your backyard.
Hey Pat, compost will help loosen up our native soil and allow water to penetrate. Once water can penetrate, clay soil here is quite good at retaining moisture. Keep adding organic materials such as compost over time will make it easier and less work for you to get your feet up and enjoy the fruit of your labor!